Moving from Printed Prototypes to Metal Parts Without Blowing the Budget
Sep 07,2026 | Tommy
Moving from Printed Prototypes to Metal Parts Without Blowing the Budget
TL;DR: Crossing the "Material Chasm"
When 3D-printed plastic parts start melting, snapping, or flexing too much during testing, that's the material chasm making itself known. Moving to metal functional prototypes is the only real way to validate a design for strength, heat resistance, and precise tolerances.
The good news: thousands of dollars on a single "perfect" part aren't required. Choosing Aluminum 6061, opting for an as-machined finish, and simplifying a design for 3-axis CNC machining gets a functional metal part for a fraction of what a medical-grade aerospace shop would charge. Easoonmade specializes in exactly this learning phase — the metal parts needed to break, test, and refine a design without exhausting the R&D budget.
The Pain Points: Why "Going Metal" Terrifies Your Bank Account
The jump from a $20 PLA print to a metal component is the steepest cost increase in the entire product development cycle, and first-time metal buyers tend to hit four frustrations in almost the same order.
The setup fee shock. In 3D printing, complexity is essentially free. In CNC machining, every time the part needs to be flipped or the fixture changed, the price jumps — often by $100 a step. A "printing-optimized" file sent straight to a machine shop tends to come back with a quote that looks absurd at first glance.
The tolerance trap. A "tight fit" in plastic might mean 0.2mm; in metal, it can mean 0.01mm. Over-specifying tolerances on a drawing means paying for the extra machine time it takes to babysit the process and actually hit those numbers.
The aesthetic tax. Plenty of shops default to assuming a jewelry-quality finish is wanted, quietly folding bead-blasting, anodizing, and hand-polishing into the quote. A part that just needs to bolt onto a test rig shouldn't be paying for beauty it doesn't need.
Material misalignment. Plastic is forgiving; metal is not. If a plastic prototype only worked because it flexed into place, a rigid aluminum part will simply snap the assembly instead — a sign that the assembly logic needs a rethink, not just a material swap.
Five Concrete Solutions: Affordable Metal Functional Prototypes
1. Design for 3-Axis CNC — the "Rule of Five"
A major cost driver is the number of setups — how many times the part has to be physically moved during machining.
The solution: design so every feature is reachable from one or two sides, avoiding undercuts or geometry that demands a 5-axis machine. An "organic," 3D-printed-looking shape often works better broken into two simpler parts bolted together afterward — a change that alone can cut a quote by 50% or more.
2. Choose the Standard — Aluminum 6061-T6
"I need it to be metal" often means the material choice hasn't actually been made yet.
The solution: Aluminum 6061 is the undisputed default for functional prototyping — fast and cheap to machine, with excellent strength-to-weight properties. Unless extreme corrosion resistance (stainless steel) or extreme weight savings (titanium) are specifically being tested, 6061 delivers professional results at the budget-friendly end of the spectrum.
3. Accept the Machine Marks — Save on Finishing
Finish is very often where a budget quietly dies.
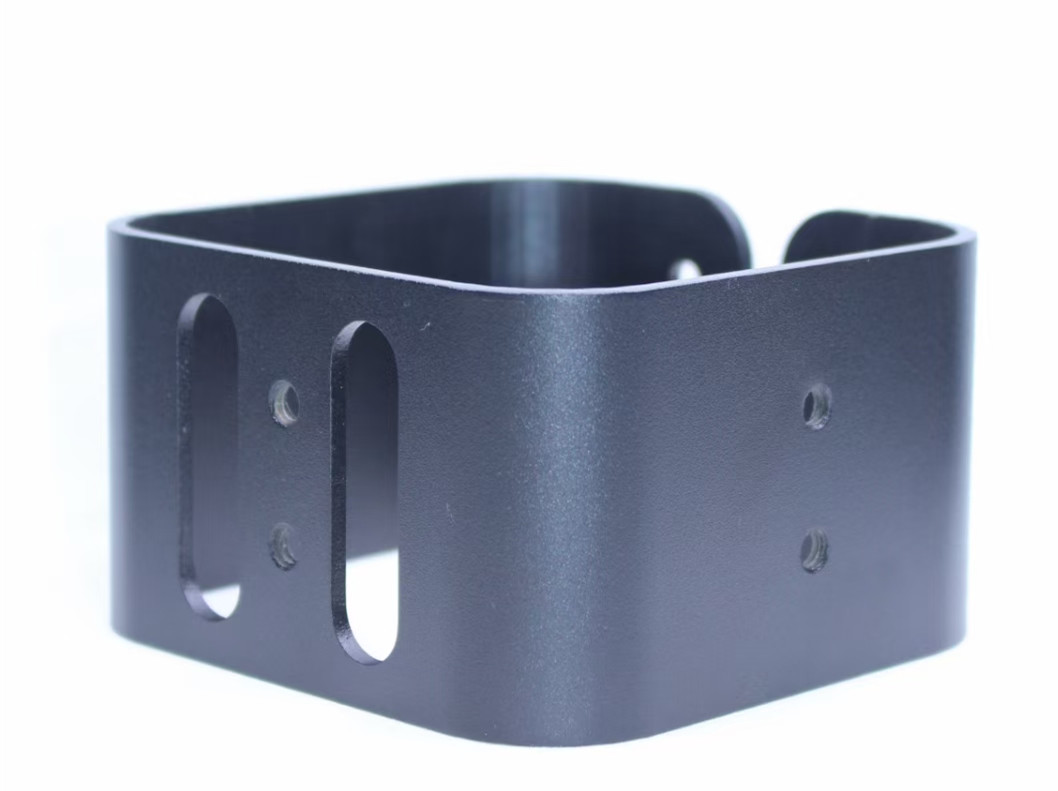
The solution: explicitly request an as-machined finish, meaning the small circular tool marks from the CNC mill are visible. For functional testing — strength, fit, heat behavior — those marks are irrelevant, and skipping bead-blasting and anodizing entirely can save 20–30% of the total order while shaving days off the lead time.
4. Specify Critical vs. Non-Critical Tolerances
Setting an entire part to ±0.01mm means paying for precision in places it doesn't matter at all.
The solution: call out only the bearing holes or mating surfaces as needing high precision, and explicitly note that the rest of the part can run at a standard ±0.1mm. That lets the machinist move fast on the bulk of the part and reserve the expensive, careful work for where it actually counts.
5. Leverage Metal 3D Printing (DMLS) for "Unmachinable" Parts
Sometimes a plastic-native design is simply too complex to CNC machine affordably.
The solution: for internal channels or complex lattice structures, DMLS (Direct Metal Laser Sintering) is worth considering. The material costs more than a block of aluminum, but the setup is digital — much like a plastic printer — so for 1–5 units of a genuinely complex part, DMLS can end up cheaper than paying a machinist to work out a 10-step CNC setup.
Comparison Table: Plastic Prints vs. Metal Prototypes
|
Feature |
3D Printing (PLA/ABS) |
Metal 3D Printing (DMLS) |
CNC Machining (6061 Aluminum) |
|
Material cost |
Negligible |
High |
Low to moderate |
|
Setup cost |
Zero |
Low |
High, fixturing and tooling |
|
Strength |
Low, internal voids |
High, isotropic |
Very high, solid block |
|
Tolerance |
±0.2–0.5mm |
±0.1mm |
±0.005–0.05mm |
|
Heat limit |
Low, melts at 60–100°C |
Very high |
High, up to 200°C+ for 6061 |
|
Best for |
Visuals, form-fit |
Complex geometry, internal features |
Functional testing, real loads |
|
Lead time |
1–2 days |
3–5 days |
5–10 days |
FAQ: Transitioning to Metal Functional Prototypes
Q: Can the exact same CAD file used for a 3D printer be used for CNC? Probably not without changes. A 3D printer can produce a genuinely square internal corner; a CNC mill cuts with a round bit, which leaves a radius on every internal corner instead. Designing around that rounded corner from the start avoids a price spike from needing EDM (electrical discharge machining) just to sharpen a corner afterward.
Q: How many units should be ordered to actually save money? The first part is always the most expensive because of the setup cost it absorbs alone. Ordering 3 to 5 units tends to be the sweet spot for metal functional prototypes — often only 20–30% more than a single unit, while providing spares for destructive testing.
Q: Is aluminum strong enough to stand in for steel? For most functional testing, yes — 6061's strength-to-weight ratio makes it feel practically indestructible compared to a plastic part that was already failing. Steel becomes the right call mainly for extreme wear scenarios like gears, or high-tension threading.
Q: Will the metal part end up heavier than the plastic print it replaces? Yes — aluminum runs roughly 2.7 times denser than most 3D printing plastics. If weight is genuinely critical to the test, pocketing out unnecessary material is an option, though it comes with more machining time and cost attached.
Q: What makes this transition easier with the right partner? Understanding the prototyping mindset specifically. Large factories want perfect files and 1,000-unit orders; a partner built for the 1-to-50-unit crowd instead offers the DFM advice needed to turn a plastic-minded CAD file into a budget-friendly metal reality.
Conclusion: Don't Let "Perfect" Be the Enemy of "Functional"
The jump from plastic to metal is the moment a product starts to feel real — seeing how it handles heat, how it vibrates, how it holds a screw under load. None of that requires a museum-quality showpiece.
Focusing on metal functional prototypes that prioritize utility over aesthetics is how engineering actually gets validated without blowing the budget — a bridge between a desktop printer and the factory floor, one affordable aluminum part at a time.
Ready to move beyond plastic? Upload your CAD files to Easoonmade today for a technical review and a quote for your first metal functional prototypes — let's see what your design is truly capable of.
Comment