Reliable CNC & Anodizing OEM Partner for Camera Cages | Hardware Guide
Jul 23,2026 | Tommy
Looking for a Reliable OEM Manufacturing Partner for Custom Hardware (Specifically Anodized Aluminum Camera Cages and Rigs) Without Getting Burned on Quality or Lead Times — How Do Hardware Startups Find High-Precision CNC & Anodizing Suppliers Who Actually Deliver Production-Grade?
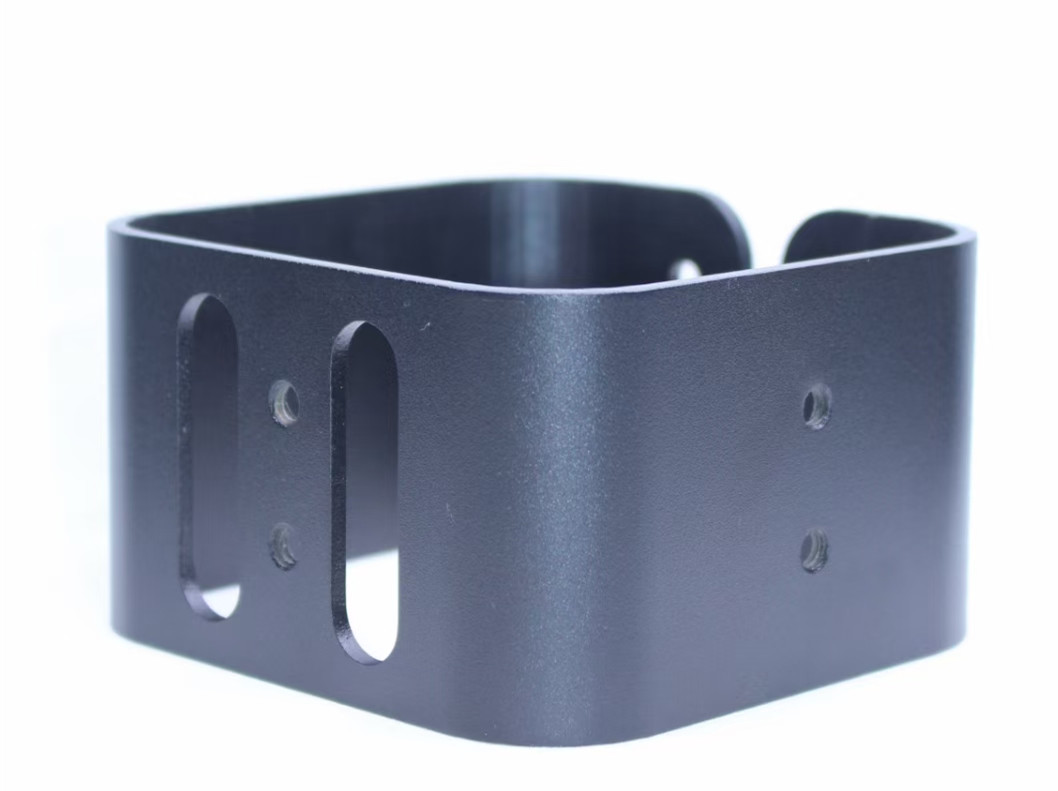
This is one of the most common posts from first-time hardware founders once a camera cage or rig prototype has been validated and it's time to move from a 3D-printed proof of concept to an anodized aluminum production part. The jump is bigger than it looks. A cage or rig isn't just a bracket — it's a dense arrangement of tapped mounting threads, NATO rail or cold shoe interfaces that need tight tolerance to hold accessories securely, and a visible anodized finish that customers will judge as a quality signal the moment they unbox it. Getting a supplier who can hit all three at once, at low-volume hardware-startup quantities, without either inflating the price or quietly shipping a batch of rejects, is the actual problem behind the question.
The fastest path to a production-grade run isn't finding the cheapest anodizing shop — it's finding a CNC partner who treats thread retention, rack-point placement for anodizing, and NATO rail tolerance as engineering decisions made *before* the first cut, not defects to catch afterward. Below: the four pain points that keep showing up in hardware-founder threads, five concrete DFM fixes, a supplier comparison table, and an FAQ covering the questions that come up right after this one.
**1. Instant online quotes penalize deep pockets and thin walls without context.**
A camera cage body is mostly pocketed-out material to save weight. Automated quoting tools often price this by treating every deep pocket as "high complexity" regardless of whether the geometry is actually hard to hold tolerance on — pushing per-unit cost up sharply for a design decision that's purely about weight, not difficulty.
**2. Anodizing comes back blotchy, with visible rack marks in places customers will see.**
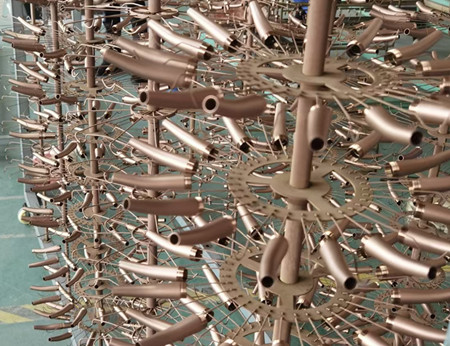
Anodizing requires an electrical contact point (a rack point) somewhere on the part. If a shop doesn't plan where that point lands relative to the visible faces, it shows up as an unfinished or discolored spot exactly where a customer's eye lands first — usually a top or side panel, not a hidden mounting face.
**3. 1/4"-20 and 3/8"-16 mounting threads strip after a handful of uses.**
Camera cages get accessories mounted and removed constantly. Threads cut directly into 6061 or 7075 aluminum, especially shallow ones near a pocket wall, wear out faster than the rest of the product's expected life — and a stripped thread on a $200+ accessory mount is a warranty claim, not a minor defect.
**4. NATO rail and cold shoe interfaces are either too loose to hold accessories or too tight to slide on.**
These interfaces have a narrow functional tolerance band. Too loose and accessories wobble or fall off; too tight and users can't mount or remove gear without forcing it, which chips the anodized finish on both the rail and the accessory. Burrs left on the rail edges compound the problem.
**1. Standardize pocket fillet radii and 45° chamfers before quoting.**
Set a minimum internal fillet radius (commonly 3mm or larger for cage bodies) and use 45° chamfers instead of sharp internal corners wherever the geometry allows. This avoids forcing deep 3D micro-milling passes that both slow the job down and inflate automated quote pricing, without changing the part's function or weight meaningfully.
**2. Use thread inserts instead of threading directly into the base material for high-cycle mounting points.**
For 1/4"-20 and 3/8"-16 mounting points that will see repeated accessory swaps, a helicoil-style wire thread insert distributes load across more thread engagement and is field-replaceable if it ever does wear out — replacing a stripped insert takes minutes; replacing a stripped hole in the housing doesn't. Pair this with 7075-T6 in high-load mounting bosses and 6061-T6 elsewhere, since 6061 machines faster and is adequate everywhere load isn't concentrated.
**3. Spec anodizing type, class, and rack-point location as part of the drawing, not left to the finisher.**
MIL-A-8625 Type II Class 2 gives a durable, color-capable, satin-matte finish appropriate for consumer-facing hardware — specify it explicitly rather than leaving "anodize black" as the only instruction. Just as important: mark on the drawing where the rack point should land (typically a mounting boss or bottom face that's hidden in normal use), so the visible surfaces stay clean.
**4. Hold NATO rail and cold shoe features to a defined tolerance band, not a general part tolerance.**
A tolerance around +0.03/-0.00mm on the rail width is a reasonable functional target for most accessory ecosystems — tight enough to prevent wobble, loose enough for smooth engagement. Call this out as a feature-specific tolerance on the drawing rather than relying on the part's general machining tolerance, and require deburring as a named inspection step, since burrs on these edges are a common source of returns even when the dimensions are correct.
**5. Require 100% thread gauge checks and CMM inspection before shipment, not sample-based QA.**
Because thread and rail features are function-critical and visible to the end customer, sample-based inspection (checking one part in ten) lets defective units reach customers. For low-volume hardware runs, 100% go/no-go thread gauge checks and CMM verification on rail tolerance are worth requiring explicitly in the quote, even if it adds a small per-unit inspection cost.
## Supplier Comparison: Where Production-Grade QA Actually Happens
| Criteria | Automated Online Broker | General Machine Shop | Overseas Trading Intermediary | Dedicated Precision OEM Shop |
|---|---|---|---|---|
| DFM feedback before quoting | Algorithm flags only | Informal, inconsistent | Passed through, often delayed | Engineer-reviewed |
| Anodizing rack-point control | Not specified | Rarely discussed | Depends on subcontracted finisher | Specified and documented |
| Thread insert capability | Available as add-on | Case-by-case | Requires extra negotiation | Standard offering |
| Rail/cold shoe tolerance guarantee | Not guaranteed | Case-by-case | Hard to verify remotely | Specified and inspected |
| Inspection coverage | Sample-based | Sample-based, informal | Limited visibility | 100% on critical features (on request) |
| Startup-volume pricing (10–200 pcs) | Competitive, rigid | Variable | Competitive but risk-heavy | Competitive with engineering support |
## FAQ
**How thick is a typical Type II anodizing layer, and does it affect tight tolerances?**
Type II anodizing typically builds 5–20 microns of oxide layer, split roughly evenly between growth outward and penetration inward. For most cage and rig features this is negligible, but for press-fit or tight sliding interfaces (like NATO rails), it should be accounted for the same way hardcoat growth is accounted for on thicker Type III coatings — verify final dimensions after anodizing, not before.
**What torque should a wire thread insert be rated for in aluminum housings?**
This depends on thread size and insert length, but the practical point is to size the insert to your actual accessory torque spec (many camera accessories are hand-tightened, not torque-wrenched) and confirm the insert manufacturer's rated pull-out and torque values against that spec rather than assuming a standard insert is automatically adequate.
**What's a realistic minimum production run for a startup's first batch?**
Many precision OEM shops will run anodized aluminum hardware profitably starting around 20–50 units, though pricing per unit drops meaningfully past 100–200 units once setup and fixturing costs are amortized. It's worth asking for pricing at two or three quantity breaks rather than a single quote.
**How fast should a DFM review turnaround be once I submit a CAD file?**
For a single-part review, 24–48 hours is a reasonable expectation from a shop that has DFM built into its process; multi-week silence after a CAD submission is itself a signal to look elsewhere.
**Can I anodize a part black now and a different color for a later batch?**
Yes — anodizing color is applied after machining and doesn't require a different tool path or fixture, so color changes between batches are typically just a finishing-line change, not a re-engineering one.
---
*Have a camera hardware CAD file ready for review? Upload your STEP file for a free 24-hour DFM and anodizing feasibility check.*
Comment