Cost Reduction Strategies for Sheet Metal: Cut Tooling & Setup Costs
Aug 10,2026 | Tommy
Cost Reduction Strategies for Sheet Metal: How Do You Design to Cut Tooling and Fixture Costs on Low-Volume Runs?
TL;DR
In a widely-discussed r/engineering thread, experienced engineers converged on the same conclusion: for low-volume sheet metal, the real cost driver isn't material — it's setup time and dedicated tooling. The fix is design-side, not procurement-side: standardize bend radii, use tab-and-slot self-locating joints, stick to common hardware sizes, avoid narrow flanges, and default to standard sheet gauges. The goal is a part that any competent sheet metal shop can run through a standard press brake in one pass, with zero custom tooling.
The Real Pain Point: Why Does Your Low-Volume Sheet Metal Quote Come Back So High?
You spec a part with several different bend radii, three hardware callouts, and a couple of precision welds — and the quote comes back far higher than you expected. That gap almost never comes from the raw material. It comes from a handful of hidden cost drivers:
- Tooling fees. A non-standard bend height or an unusual radius forces the shop to buy or fabricate a dedicated die just for your part.
- Repeated machine setup. Every distinct bend radius or fastener spec means the operator stops the line to swap tooling — a real cost killer at quantities of 1–50 units, where there's no volume to amortize that changeover time across.
- Fixturing and alignment labor. Welded assemblies need precision weld fixtures, and complex assemblies often require manual alignment. Those labor hours land directly on your per-part price.
None of this shows up as a clean line item on the quote — it's buried in "setup" and "labor," which is exactly why so many engineers get blindsided by it.
Five Concrete Ways to Bring the Cost Down
1. Standardize your bend radii
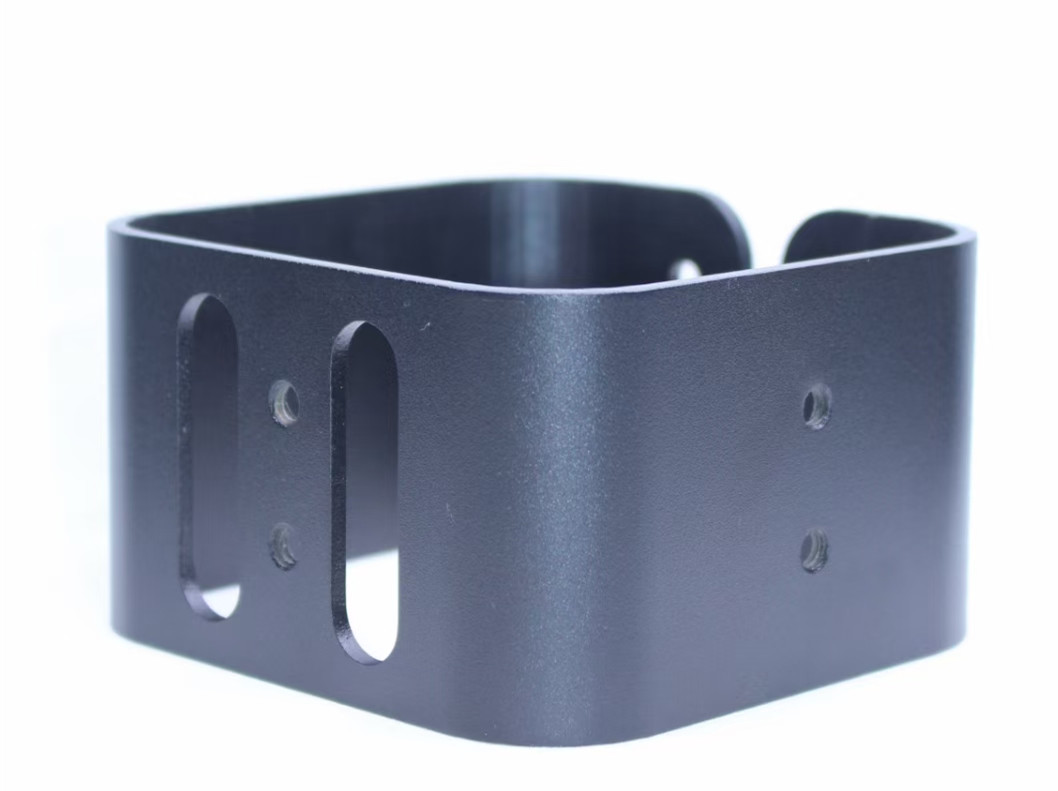
This is the single most-cited rule in the discussion. Use one bend radius across the entire part — say, R1.5mm — instead of mixing R1, R2, and R5 in the same design. Every additional radius means another tooling changeover. A single standardized radius lets the shop run the whole part through one die setup, cutting non-productive machine time significantly. This is also the core principle behind DFM (Design for Manufacturability) for sheet metal, and it's the first thing an AI-driven costing tool checks.
2. Use tab-and-slot self-locating joints instead of weld fixtures
Custom weld fixtures are expensive to design and build. Instead, design interlocking tab-and-slot features at part junctions so pieces snap together like building blocks before welding. This eliminates the need for a dedicated weld fixture and reduces post-weld dimensional drift. It's especially well-suited to laser-cut parts, where the tolerance is tight enough to make the self-locating geometry reliable at no extra cost.
3. Minimize hardware and fastener variety
PEM nuts and bolts are convenient, but every additional size adds cost. Standardize on a single hardware spec across the whole assembly — all M4, for example — instead of mixing M3, M4, and M5. Where possible, design extruded/formed threaded holes to replace pressed-in hardware entirely. This cuts down on feeder-bowl changeovers and simplifies inventory on the shop floor.
4. Avoid narrow flanges and overly complex bend geometry
A flange that's too narrow can't be fully seated by the die, and sometimes requires a special "gooseneck" tool to clear. Keep bend flange height at least four times material thickness, and avoid geometry that forces a shop into specialty tooling. Simpler geometry is less dependent on operator skill, yields a higher first-pass quality rate, and quotes lower as a result.
5. Design around standard gauges and stock materials
Non-standard sheet thickness has to be special-ordered and often carries a minimum order quantity. Ask your supplier which gauges they stock most often — typically 1.2mm, 1.5mm, and 2.0mm — and design to those. This lets the shop cut your low-volume parts from remnant stock instead of ordering (and paying for) a full new sheet.
Sheet Metal Cost Drivers: Expensive Design vs. Optimized Design
|
Cost Factor |
Expensive Design (High Cost) |
Optimized Design (Low Cost) |
|
Bend radii |
Multiple radii (R1, R2, R5) |
Single standardized radius (all R1.5) |
|
Assembly method |
Complex welds + dedicated fixtures |
Tab-and-slot + seam welds |
|
Hardware specs |
M3, M4, M5 mixed hardware |
Uniform M4 or extruded threaded holes |
|
Flange height |
Very narrow flange (< 3× thickness) |
Standard flange (> 4× thickness) |
|
Material usage |
Special alloy / non-standard gauge |
Standard cold-rolled or aluminum sheet |
|
Surface finish |
Full hand-polish + custom coating |
Brushed/bead-blast + standard powder coat |
FAQ
Q1: For low-volume sheet metal, should I choose laser cutting or CNC punching? For low volumes (under roughly 100 units), laser cutting is almost always cheaper — there's no tooling cost, and it handles complex profiles with no setup penalty. CNC punching becomes more competitive at higher volumes with lots of repeated hole patterns.
Q2: Why does welding drive up cost so much, and are there alternatives? Welding adds labor hours, heat-distortion correction, and weld-grinding time. If the strength requirement allows it, self-tapping screws, pop rivets, or structural adhesive are far more cost-effective at low volumes.
Q3: How do I know at the design stage whether my bends are actually manufacturable? The simplest check is your supplier's bend allowance table. If your design exceeds a standard die's travel or creates tool interference, an AI-driven DFM tool (like SolidWorks Costing) will flag it immediately — catch it there, before it becomes a quote surprise.
Q4: Does tab-and-slot design work for every material and process? It's best suited to laser-cut parts, where cutting tolerance is tight enough for the interlocking features to seat precisely without extra fixturing. On punched or lower-tolerance processes, the fit can be looser and may still need some alignment support.
Q5: Will standardizing bend radii and hardware actually shorten my lead time, not just lower cost? Yes. A shop that doesn't need to source special tooling or hardware can move your job into the queue faster. Standardization removes both the cost and the wait time associated with custom dies and non-stock parts.
The Takeaway
As one r/engineering commenter put it: don't make the machine change for your design — make your design fit the machine. Cutting tooling fees comes down to standardization; cutting fixture and alignment cost comes down to self-locating geometry. Apply these five changes and you'll typically see both a lower unit price and a shorter lead time, since your supplier won't need to prepare any special tooling to run your job.
Ready to find the most cost-efficient production path for your sheet metal part? Upload your CAD file to EASO ON MADE now for a free DFM analysis and cost-reduction quote.
Comment